Installing Water Commander™
Water-Powered Backup Sump Pump Installation
For complete install procedures, view Water Commander™ Install Instructions.
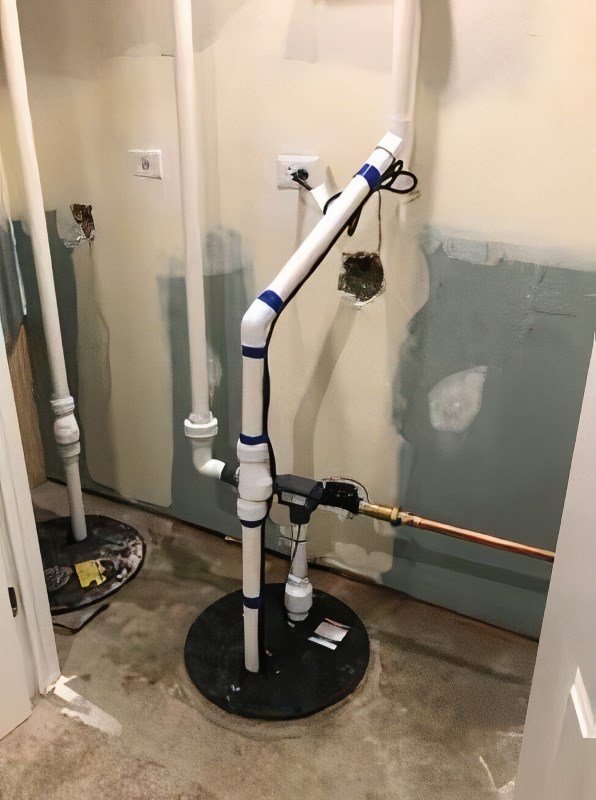
1. Mount Water Commander™ to the Wall or Joist
Water Commander™ should be mounted on the wall next to the sump, or up on the joist above the sump. A mounting clamp is provided in the kit.
Water Commander™ is normally installed in the horizontal position as shown, but can be mounted in a vertical orientation as well. Water Commander™ will operate well whether mounted low, close to the floor, or higher up on the wall or attached to the ceiling joist.
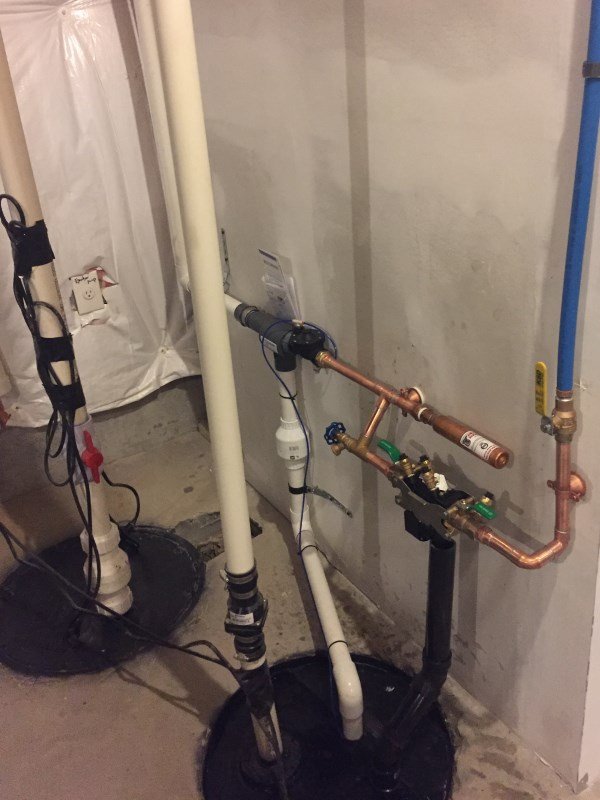
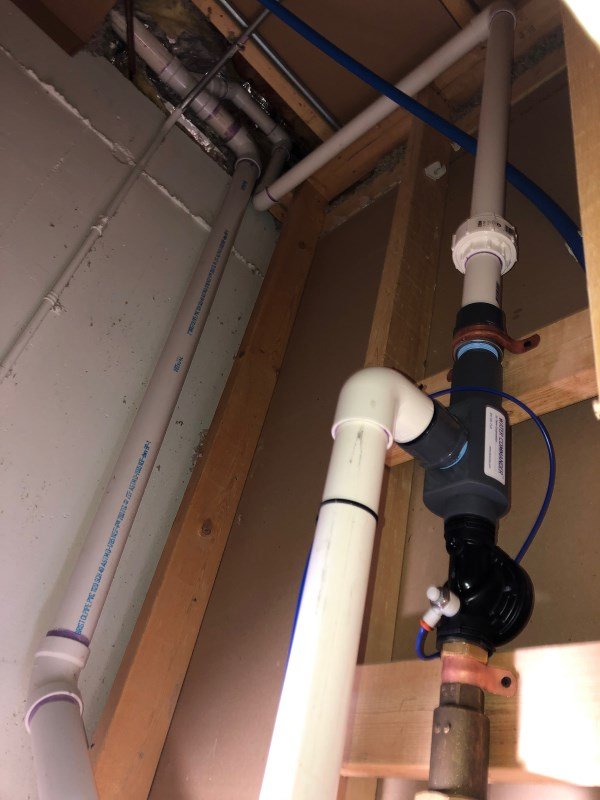
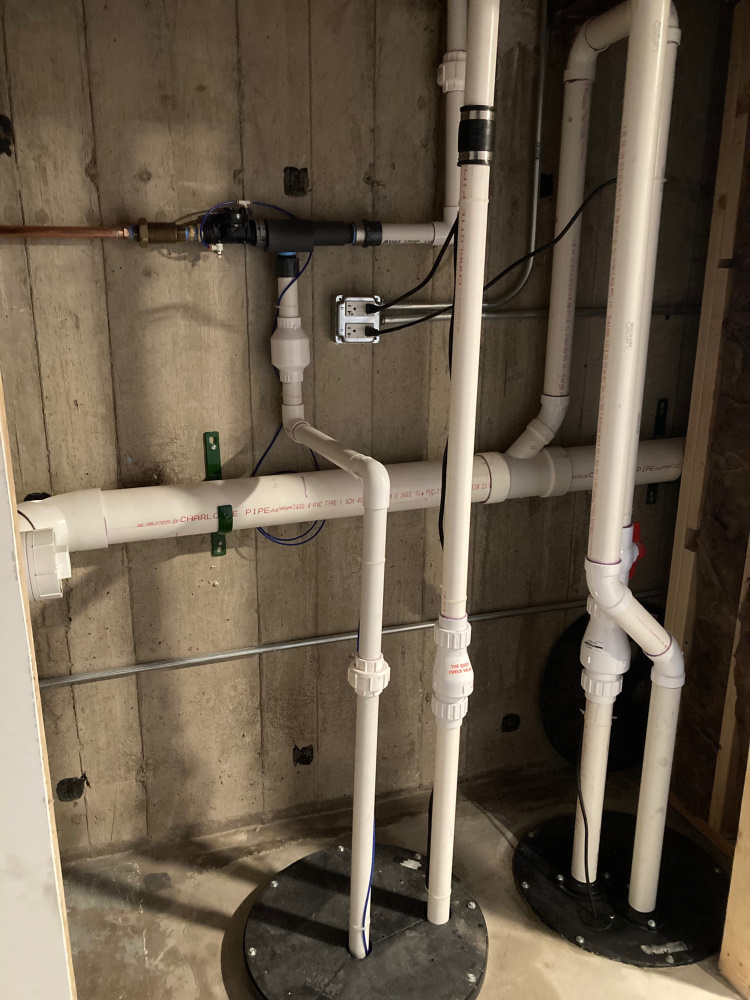
Several real-life installation photos showing various configurations can be seen below.
Pump Installation Positions
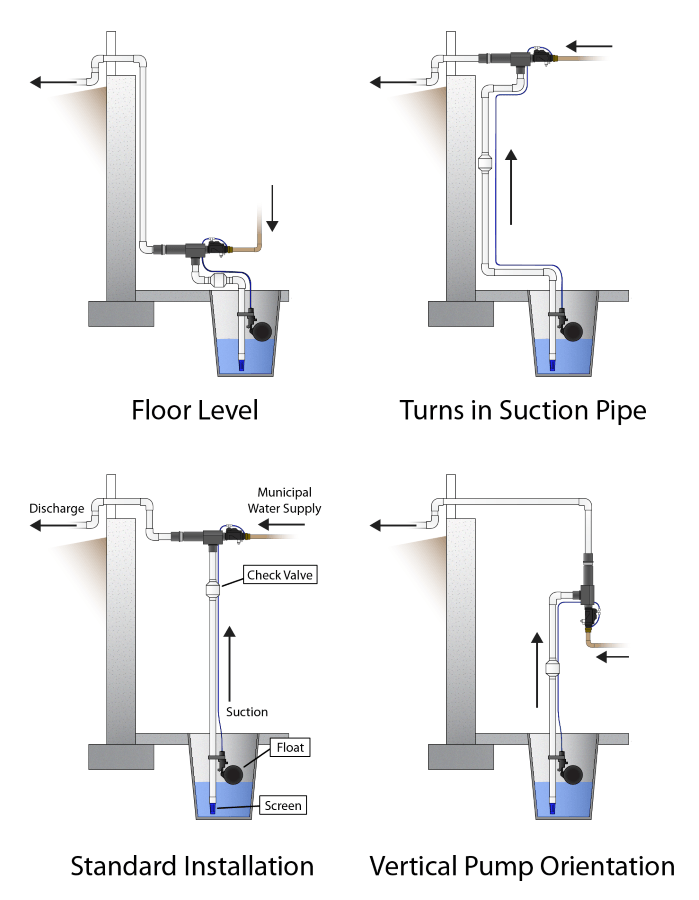
We are occasionally asked if the pump need be installed in the horizontal position at ceiling height rather than closer to the floor or in a vertical orientation. Water Commander™ has a very powerful suction and can operate equally well in any position or orientation.
The diagram (click image for larger view) shows some possible installation positions. Please contact us if you have more specific questions.
Continue scrolling for more installation steps.

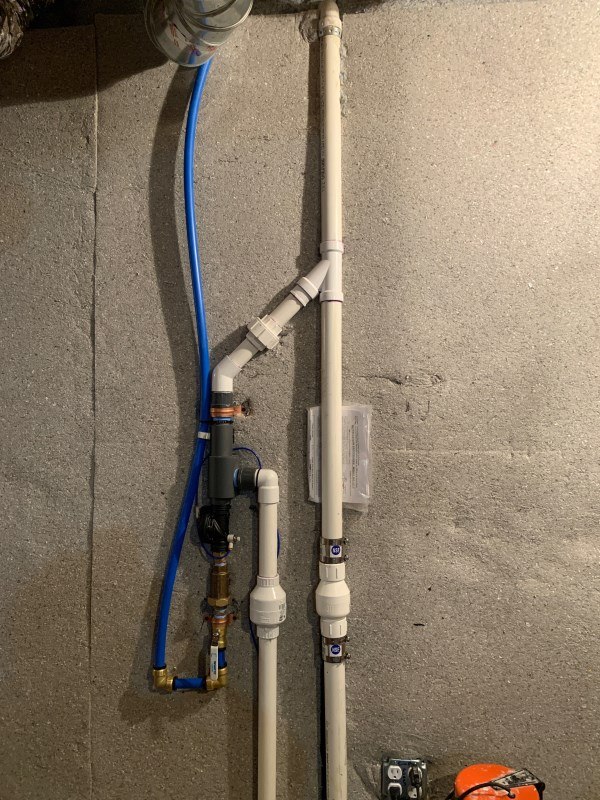
2. Municipal Water Supply Needed
Water Commander™ operates by utilizing your household water pressure as its energy source. Both our high-performance model MG22 and ultra-performance model MG36 connect to either a ¾” or 1″ water supply.
Tap into your water main and route a pipe to a position next to the input fitting of the Water Commander™. Include a standard ball valve on the pipe for shut off. Check your local plumbing code for backflow prevention requirements.
Tane Corporation offers standard dual check valves and also dual check valves with atmospheric vent for backflow prevention. For homes with water pressure of 65 PSI or higher we can supply a water hammer arrestor.


3. Attach Discharge and Suction Pipes
Each Water Commander™ model comes equipped with the correct heavy-duty schedule 80 fittings for attaching the PVC discharge and suction pipes, 1 ¼ inch for model MG22 and 1 ½ inch for model MG36.
We recommend that Water Commander™ be installed with an independent discharge pipe (the pipe that leaves the house). While the Water Commander™ will operate equally well if its discharge pipe is tied into your existing primary pump discharge, a completely separate backup system is always preferable to a backup pump sharing a discharge pipe.
A check valve and intake screen is provided for the suction pipe which runs from the Water Commander™ to the sump pit. Both the pipes can be turned multiple times if needed to adapt the Water Commander™ to the space available. Four 90 degree fittings are provided with each Water Commander™.


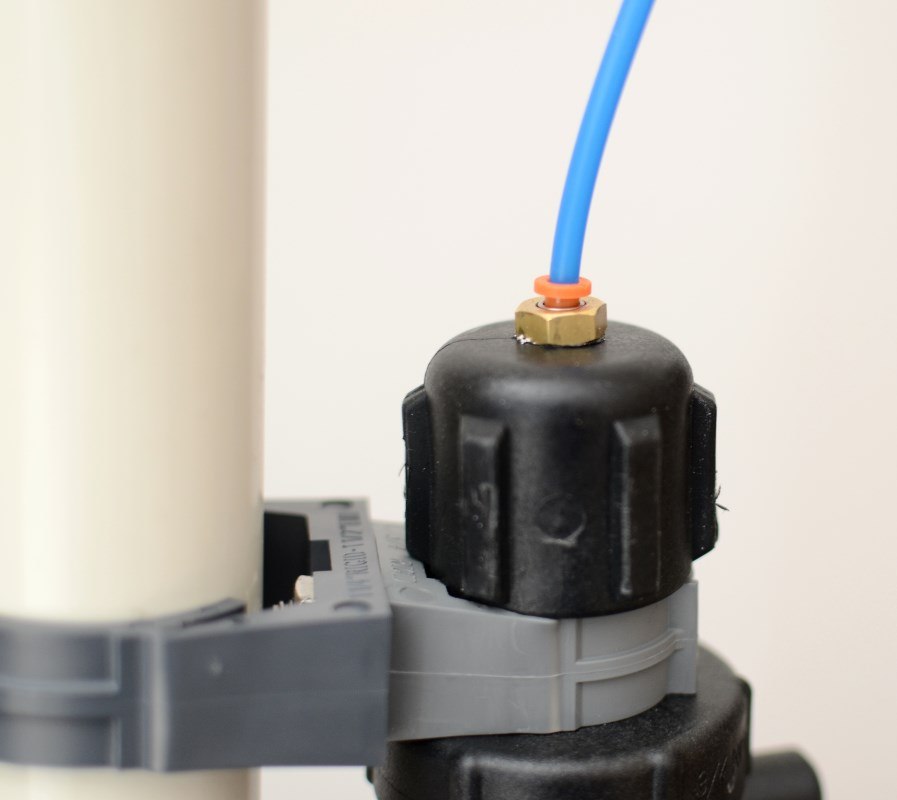
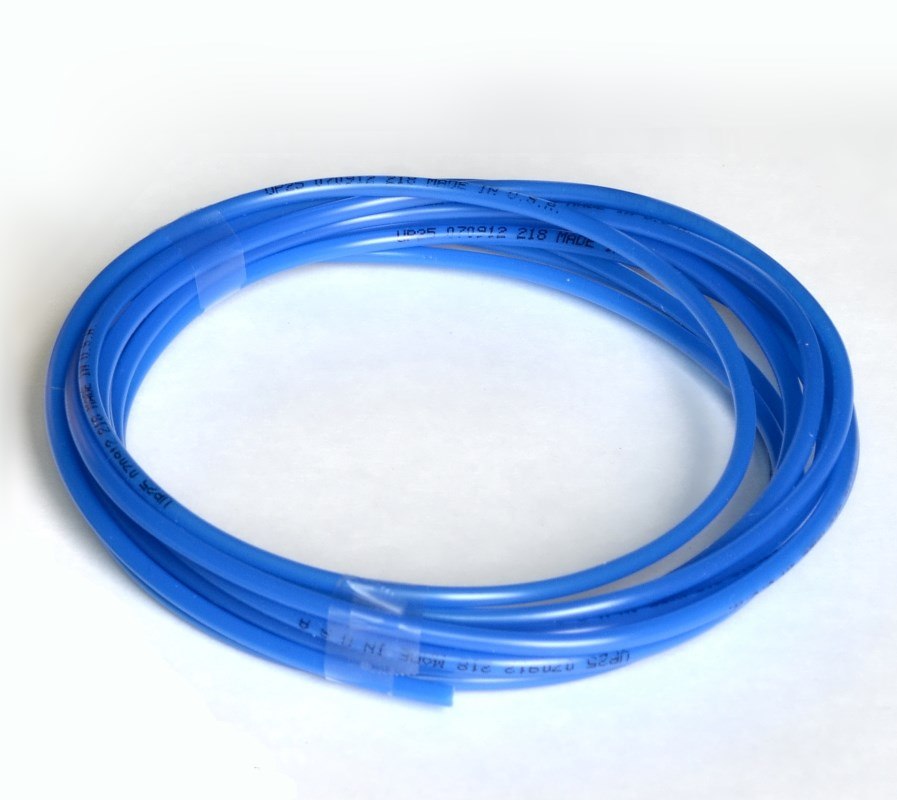
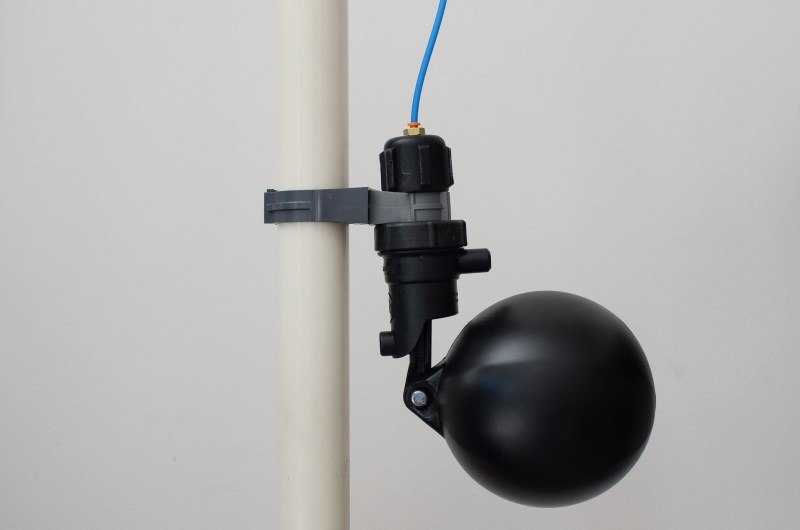
4. Attach Float and Pressure Tube
The Water Commander™ float assembly simply snaps onto the suction pipe just above the top of your primary sump pump. No nuts, bolts, or screws needed. Once attached, the main pump valve and the float assembly are attached via a flexible tube which is inserted into the tube fittings and each end. Just push the tube into the fitting, no tools are needed.
5. Test Water Commander™
Once your install is complete, open the valve on your water feed to test the pump. Once the municipal water starts flowing to the Water Commander™, it will immediately start pumping water from your sump pit. Once the system is pressurized after a few seconds it will automatically shut off.
To test, lift the float ball for two seconds to initiate pumping. After the float is released, the Water Commander™ will continue to run for 10 to 15 seconds and then shut off. Your basement is now protected from flooding!

“Without this great technology we would have been completely flooded…”
The power in our house went out under a torrential downpour. The water rose until the moment of truth when the water hit the yellow float of the Water Commander™. As designed the pump kicked right in and drained the pit, whew! After the pit drained the Water Commander™ shut off until the level rose again and again for almost 2 hours with NO power.
Again and again this backup worked.
Without this great technology we would have been completely flooded as this was a relentless downpour that continued to pour water into the pit that the Water Commander™ backup continued to remove.
– Mike S., Barrington, IL